Welcome to the Deploying Sysmon for Enhanced Threat Detection lab!
This lab is designed to introduce you to the practical setup and use of Sysmon for monitoring and detecting suspicious activity on Windows systems.
You will learn how to install Sysmon with a custom configuration, verify its functionality, and simulate real-world attack behavior using Atomic Red Team to see how Sysmon captures key forensic evidence.
Whether you are a student, researcher, or enthusiast, this space is meant to provide a hands-on experience and foster learning in incident response and Windows threat detection.
Access the lab tools required to install and test Sysmon from the designated folder on the desktop.
Navigate to the Desktop on the Windows system.
Open the folder named: Deploying Sysmon
Inside this folder, you will find multiple ZIP archives. To begin with, verify the presence of the following key items:
Sysmon.zip
sysmon-config-master.zip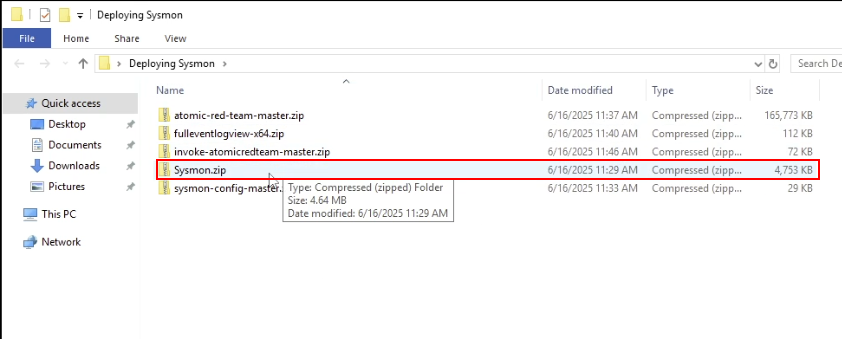
Once you've located and confirmed all required files are present, you are ready to proceed to the next task: installing Sysmon.
Install Sysmon as a Windows service using the provided configuration file to enable enhanced system activity logging.
Sysmon.zip ZIP archive. In the extracted folder, you will find three Sysmon executables, in this case, the most appropriate installer is Sysmon64.exe.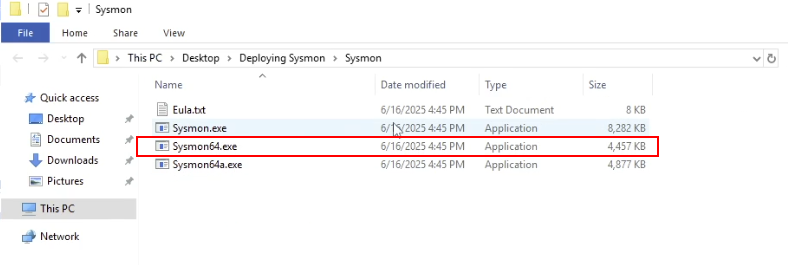
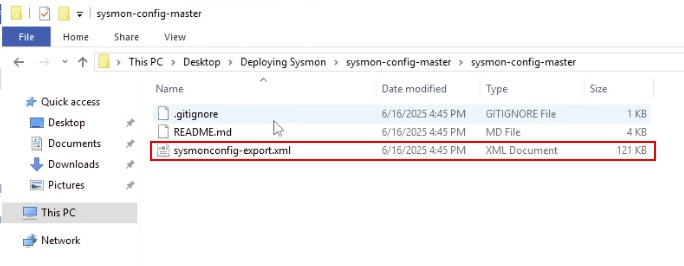
Before installing Sysmon, you will need to extract the ZIP archive containing the custom Sysmon configuration file.
sysmon-config-master.zip ZIP archive. 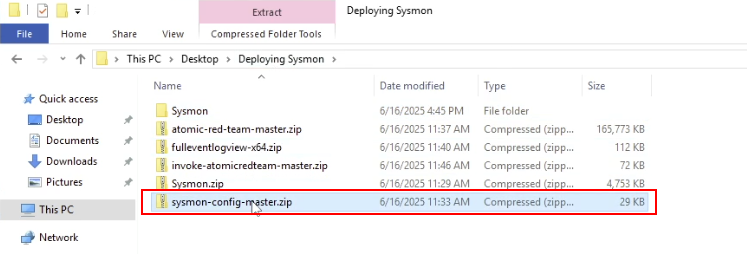
Inside the extracted folder, you will find the custom Sysmon config file: sysmonconfig-export.xml
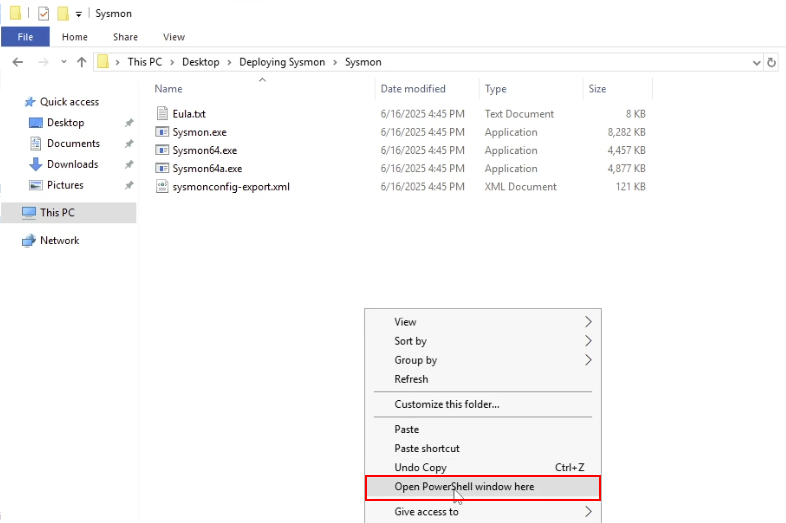
Copy this file to the Sysmon folder you extracted earlier that contains the Sysmon installer.
This can be done by holding the SHIFT key and right-clicking inside the folder and clicking on the Open PowerShell window here option as shown in the following screenshot.
Sysmon64.exe -accepteula -i sysmonconfig-export.xml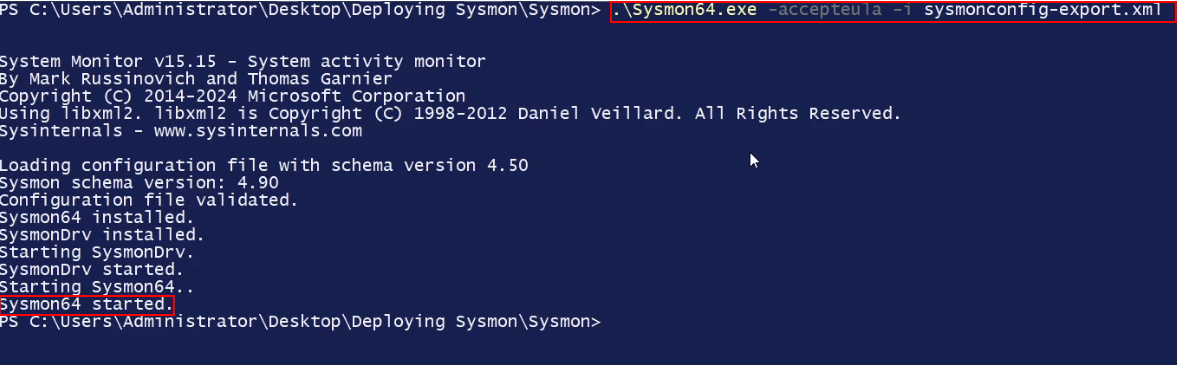
As shown in the preceding screenshot, you should see a confirmation message indicating Sysmon has been installed as a system service.
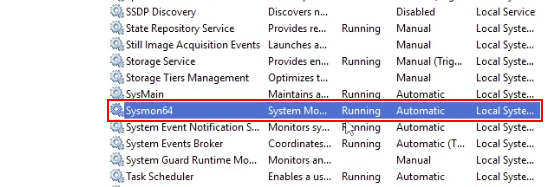
As shown in the following screenshot, the Sysmon64 service should be in a "Running" state.
Once confirmed, proceed to Task 3 to verify logging.
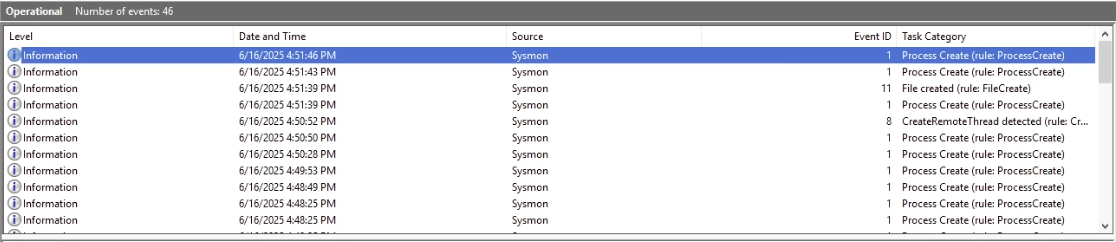
Ensure that Sysmon is actively logging system events and writing them to the Windows Event Log.
Press Windows + R, type eventvwr, and press Enter.
In the left-hand panel, navigate to
Applications and Services Logs > Microsoft > Windows > Sysmon > Operational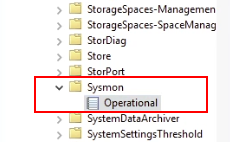
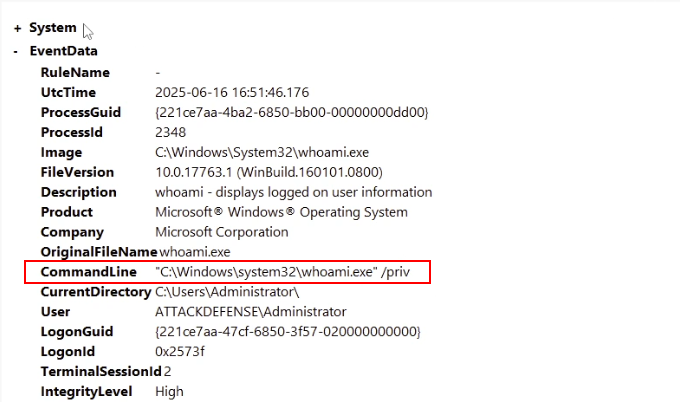
whoami /privThis command enumerates the working privilege set for the user you are currently using or have access to, in this case, the user account you have access to is the "Administrator" account.
As shown in the following screenshot, Sysmon logs this command and provides enhanced information that better contextualizes the event log.
If you see these events, Sysmon is working correctly and capturing system activity. You are now ready to simulate malicious activity in Task 4 using Atomic Red Team.
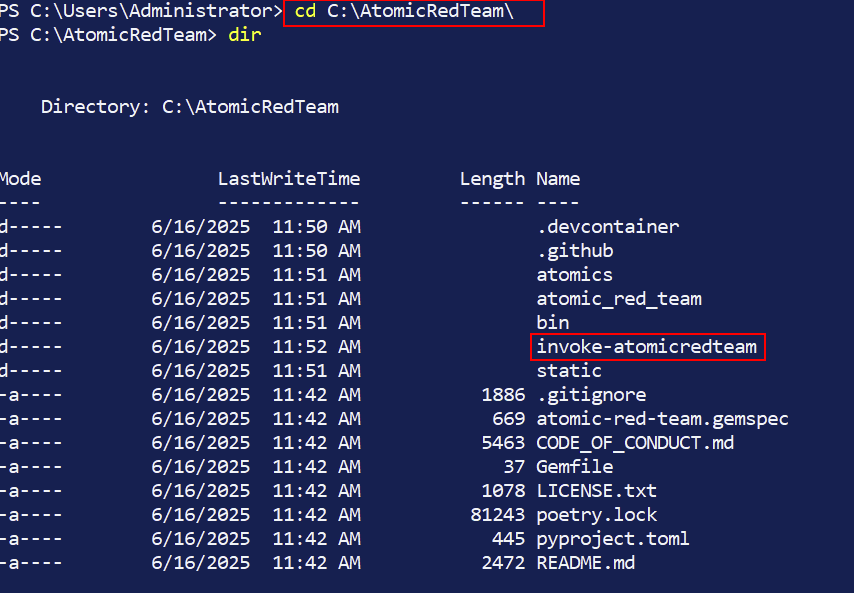
C:\AtomicRedTeamAs shown in the following screenshot, inside the folder, you will find another folder called: invoke-atomicredteam. This folder contains the Atomic Red Team PowerShell module.
invoke-atomicredteam folder and import the module: Invoke-AtomicRedTeam.psd1.Import-Module Invoke-AtomicRedTeam.psd1
Once the module is imported and commands are visible, you're ready to execute an Atomic test to emulate/simulate adversarial activity.
In the same PowerShell session, run the folllowing command:
Invoke-AtomicTest T1053.005 -TestNumbers 1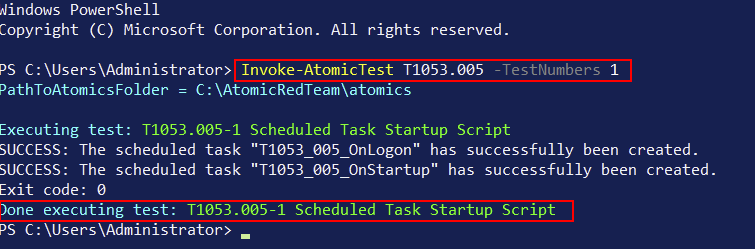
This Atomic Test will simulate the creation and deletion of a non-malicious Windows Scheduled Task.
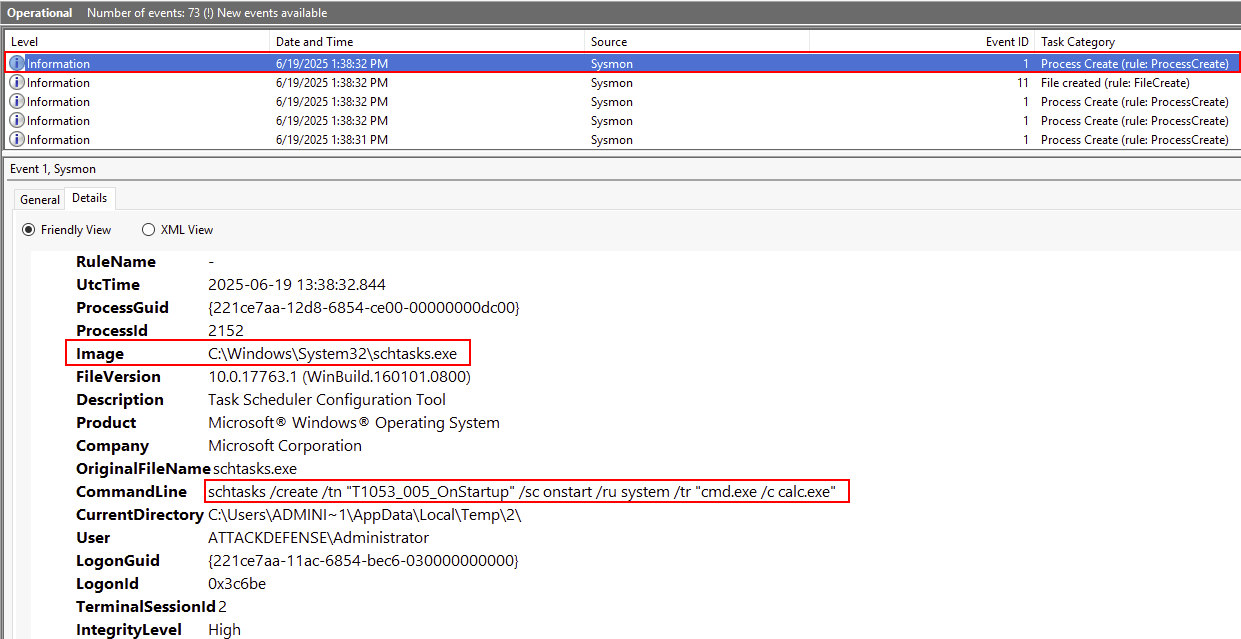
Open Event Viewer again if not already open and navigate to:
Applications and Services Logs > Microsoft > Windows > Sysmon > OperationalLook for:
powershell.exe process with a command line matching the atomic test.As shown in the following screenshot the Atomic Tes T1053.005 triggers Sysmon Event ID 1 and possibly 4698 in the Security log/Channel.
Evaluate what Sysmon captured and consider how this information supports incident response and threat detection.
Understanding what Sysmon logs and how it relates to simulated adversary behavior is key to building an effective detection strategy. This reflection helps bridge tool output with real-world security use cases.